The full digital workflow is transforming dental prosthetics: fewer manual steps, greater reproducibility, reduced turnaround times. But a successful transition depends as much on the coherence of the chain as on the machines themselves. A complete overview, from scan to fitted prosthesis.
1. Acquisition: scanning
Everything begins with a digital impression — an intraoral scanner chairside or a laboratory scanner on a model. Scan quality determines everything that follows: a clean file prevents downstream rework.
2. Design: CAD
The file is designed in CAD software (Exocad, 3Shape, DentalCAD). This is where precision is determined: margins, contact points, occlusion. An open workflow then allows the project to be sent to any machine.
3. Fabrication: milling or printing
Two complementary routes:
- Milling (milling machine) — zirconia, lithium disilicate, PMMA. The preferred route for definitive restorations.
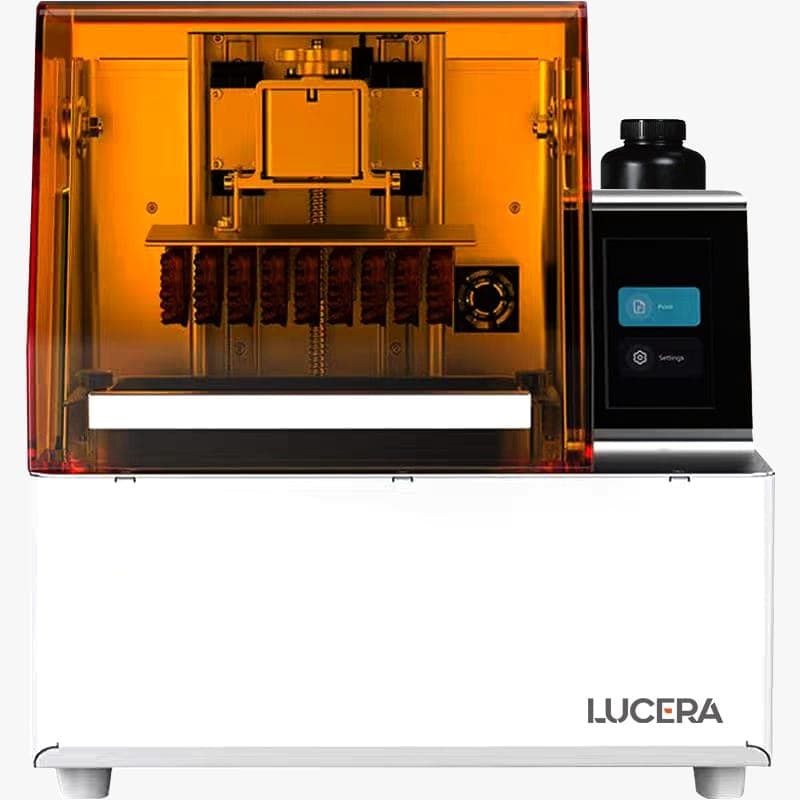
- 3D printing — models, splints, temporaries, surgical guides, in resin. Fast and cost-effective for these indications.
4. Post-processing
Depending on the material:
- Zirconia → sintering (the firing curve determines shade, translucency, and strength).
- Lithium disilicate → crystallization / firing.
- Printed resin → washing + post-curing.
This is the most underestimated step: excellent milling can be ruined by imprecise post-processing.
5. Finishing
Staining, glazing, polishing. Multilayer materials reduce this time in the anterior region, but characterization remains the dental technician's signature.
The key: a coherent and open chain
The benefit of the full digital workflow comes from interoperability. If every link in the chain (scanner, CAD, milling, furnace, printer) speaks the same file language and accepts multi-brand consumables, you retain control over your costs and quality. A closed ecosystem cancels out a significant portion of these gains.
Where to start?
There is no need to purchase everything at once. Many laboratories begin with CAD + an open 5-axis milling machine + a furnace, then add 3D printing. What matters is choosing, from the outset, equipment that is compatible with each other and with your software.
To build a coherent chain suited to your volume, upfront technical advice prevents costly investment mistakes.